Last updated November 22, 2026
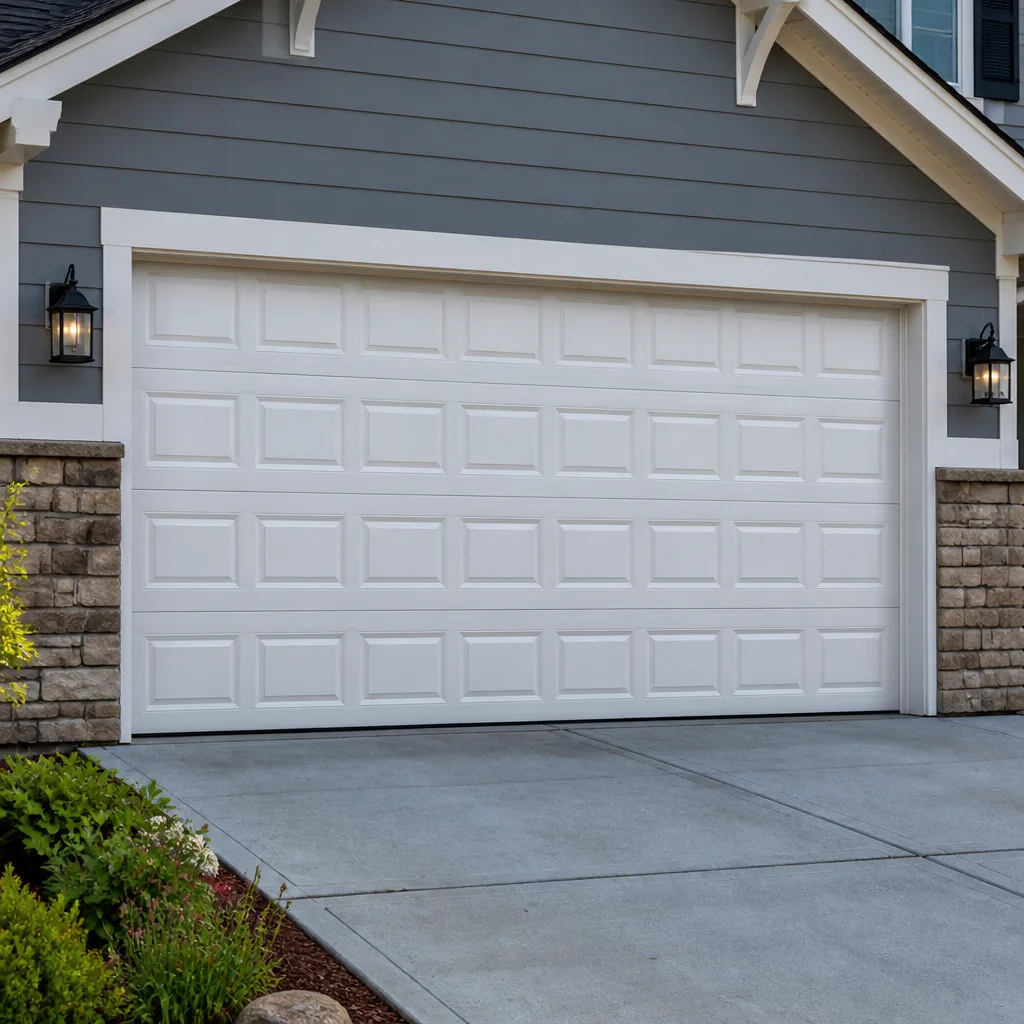 Raised-panel steel
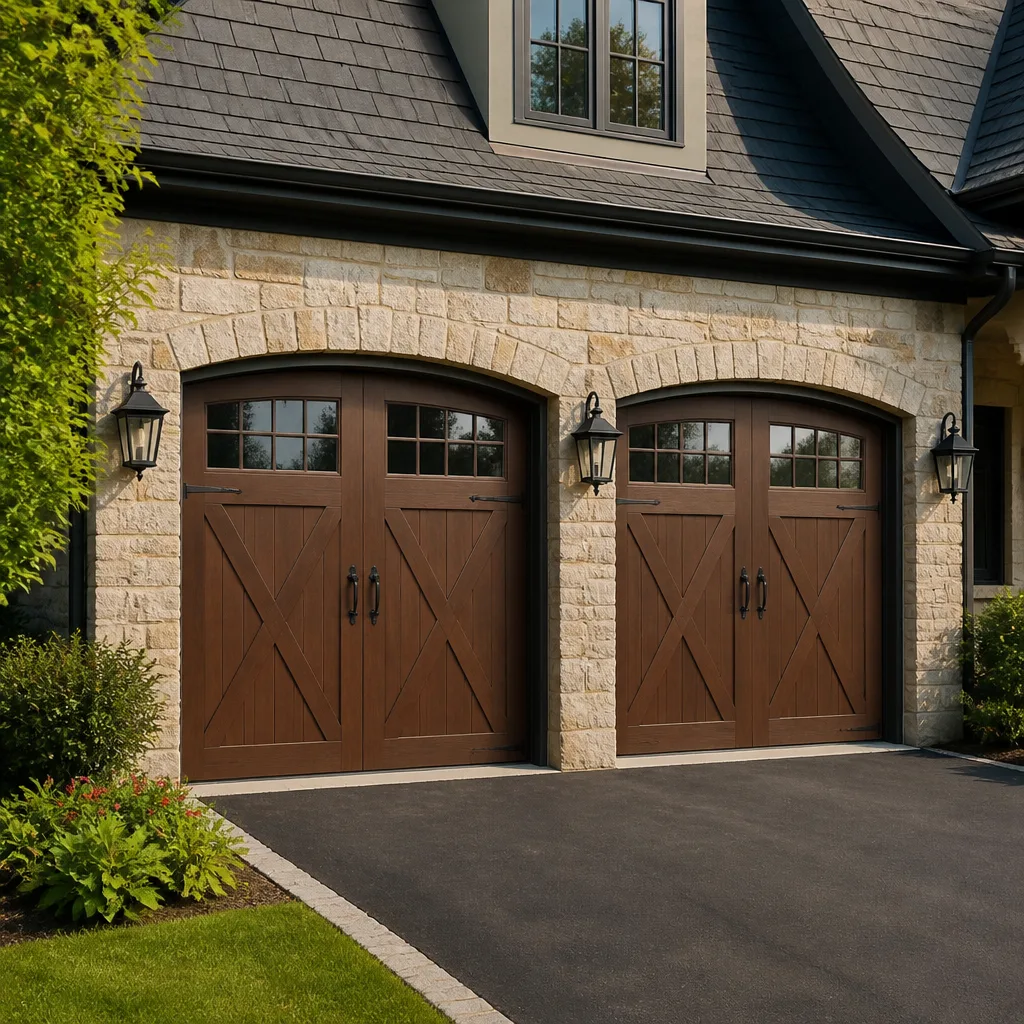 Carriage house
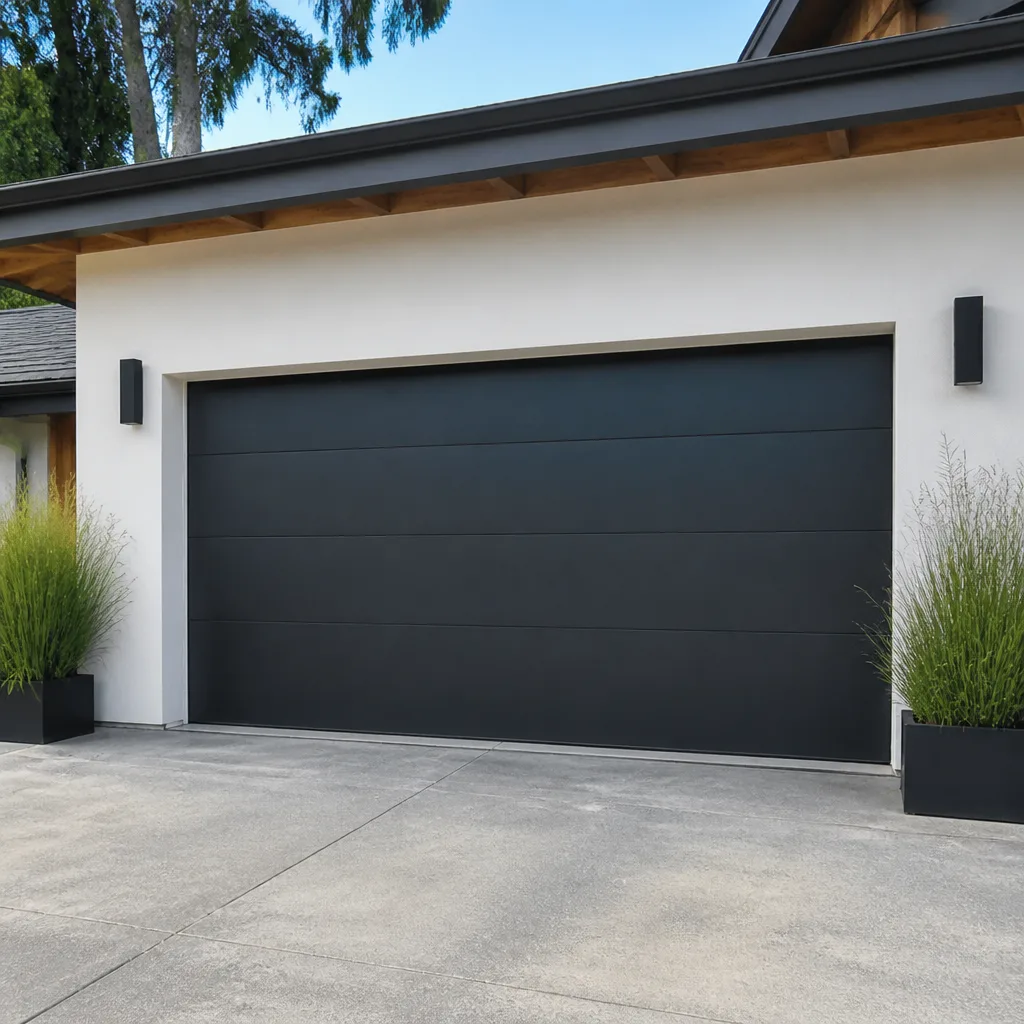 Modern flush
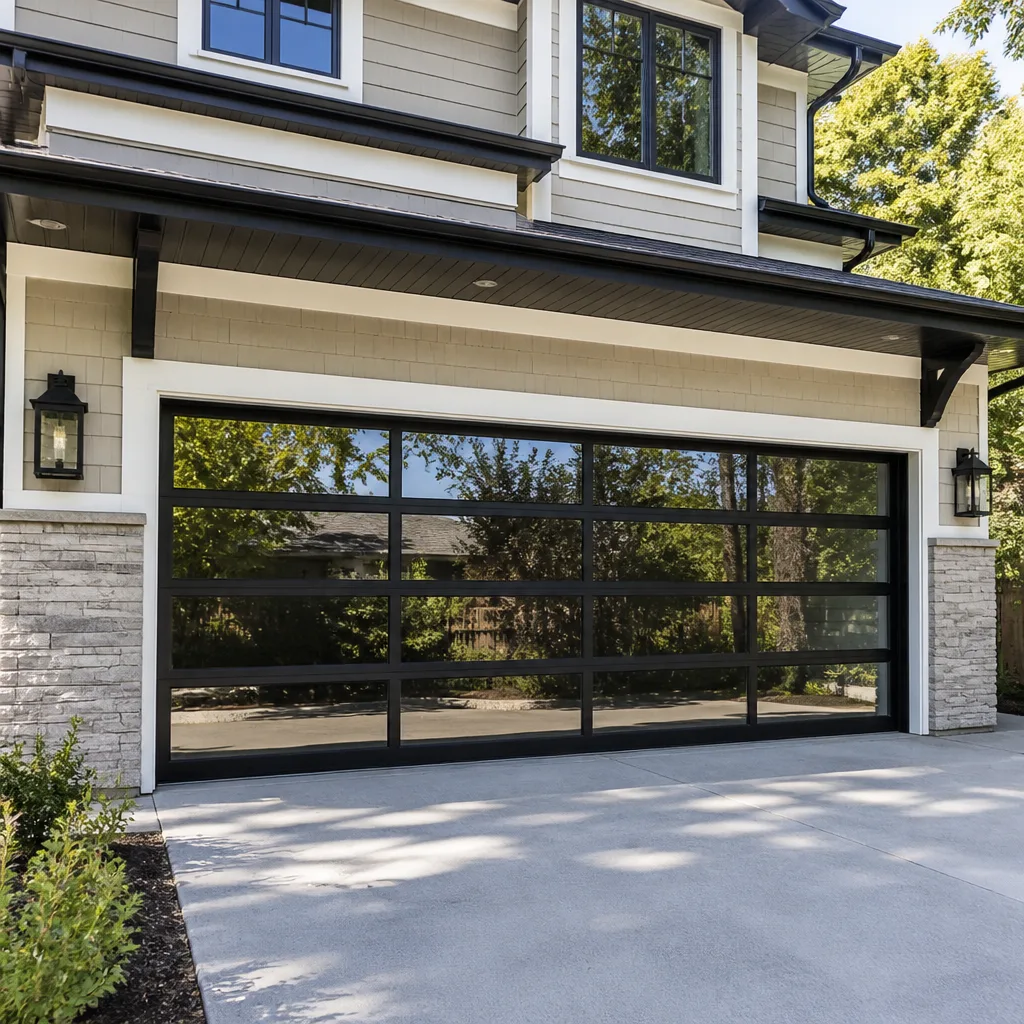 Full-view glass
 LiftMaster openers
 Chamberlain openers
Full 25-point door and opener safety check with every visit - springs, cables, rollers, tracks, and your LiftMaster or Chamberlain opener included
You get a price before we start. It does not change when the pro arrives.
Get your free estimateGarage Door Repair Maintenance Checklist for Pembroke Pines Homeowners
The task most national garage door checklists put at the top of the list is lubricating the tracks, and in Pembroke Pines that advice can do more harm than good if you follow it the way it’s written. Tracks aren’t meant to be greased. They’re meant to stay clean and dry, and in a climate that holds moisture in the air most of the year, the wrong lubricant on the wrong part is one of the fastest ways to collect grit, attract rust, and turn a quiet door into a grinding one. We’ve seen plenty of doors in Pembroke Pines where good intentions made the problem worse.
What follows is the sequence that actually holds up here: what to check monthly, what to check before storm season hits, what to look at after a storm, which lubricant belongs on which part, and which jobs should never leave the hands of a trained technician. You’ll also find a clear line drawn between the maintenance you can safely do yourself and the work that carries real injury risk.
Quick Answer
A garage door maintenance checklist for Pembroke Pines should focus on the three things this climate attacks hardest: humidity-driven rust on hinges, rollers, and cables, storm-season stress on anchors and bracing, and UV breakdown of the bottom seal and weatherstripping. Check the door, springs, cables, and hardware visually once a month, test the manual release and reverse function before hurricane season, and leave spring, cable, and torsion work to a trained technician.
Styles & brands we work with
- Raised-panel steel
- Carriage house
- Modern flush
- Full-view glass
- LiftMaster openers
- Chamberlain openers
Table of Contents
- Why a National Checklist Doesn’t Fit Pembroke Pines
- The Monthly Visual Inspection Walkthrough
- Pre-Hurricane Season Checklist
- Post-Storm Inspection Before You Power It Back Up
- Lubricant Selection: What Belongs Where
- Sticker, Seal, and Weatherstripping Care
- Annual Professional Tasks Versus Safe DIY Tasks
- Opener, Remote, and Safety Sensor Checks
Why a National Checklist Doesn’t Fit Pembroke Pines
Most garage door guides are written for a house somewhere with four distinct seasons, where the main threats are cold snaps and road salt. Pembroke Pines doesn’t work that way. Air here stays humid for most of the year, afternoon storms build fast in summer and early fall, and the sun hits a south- or west-facing garage door with real intensity. Each of those conditions pushes a different part of your door toward failure.
Humidity does the slow work. It collects on bare steel and cast hardware and starts rust at the edges, which is why the first place you’ll usually see it is the hinge leaves and the bottom of the bottom bracket. Storm season does the sudden work, flexing panels and shaking anchors. Sun does the quiet work, breaking down the rubber seal and leaving the weatherstripping cracked and stiff long before most homeowners think to look at it.
That’s the reason a local Pembroke Pines homeowner’s list looks different from a generic one. The parts and order of checks matter more than the calendar most national guides hand you. Here’s what we recommend checking, and in what order.
The Monthly Visual Inspection Walkthrough
Run this walkthrough once a month and you’ll catch most developing problems while they’re still cheap to fix. It takes about ten minutes and doesn’t require tools beyond a flashlight. Start with the door closed and work top to bottom.
- Look at the bottom seal first. It should sit flat against the floor with no gaps. If you can see light under the door or the rubber has gone brittle, cracked, or pulled loose at the corners, it’s failing. In Pembroke Pines, UV exposure breaks down this seal faster than most homeowners expect.
- Scan the hinges for rust. A light dusting of orange on the hinge faces is a sign the humidity is doing its work. Rust in the pivot points means the hinge is binding. Look specifically at the bottom hinges and the bottom bracket, which sit closest to the wet floor.
- Inspect the cables for fraying. With the door closed, look at each lift cable along its length. Any individual wire strand that has broken and stands out from the bundle is a warning sign. Frayed cables are unpredictable and should be treated as a professional job.
- Check the rollers. Rollers should turn freely by hand. A roller that spins rough, wobbles, or has a flat spot on the wheel will make the door rattle and put uneven load on the tracks.
- Listen to the door in motion. Open and close it once and pay attention to the sound. A door that runs quiet most days and suddenly starts rattling is telling you something specific has loosened or worn.
- Look at the spring above the door. You’re looking for separation in the coil, rust staining, or an obvious gap. Do not touch it, and do not attempt to adjust it. A spring holds dangerous tension even when a door looks calm.
Anything you find in steps 1 through 4 is usually inexpensive to correct. Findings from steps 5 and 6 belong with a technician. When the report moves from seal and rollers to cables and springs, that’s often the point where homeowners pick up the phone for garage door repair rather than trying to work around it.
Pre-Hurricane Season Checklist
Storm season is the time of year when a small weakness in your door’s hardware can turn into a real problem. This checklist is about making sure the door stays put and the opener’s safety systems work before wind and rain arrive. Run through all four steps before the season starts, and again if you’ve had a long stretch without checking.
- Test the manual disconnect. Pull the red release handle with the door closed. The trolley should release the door from the opener cleanly, and the door should move by hand with steady resistance. If the release won’t engage, or the door won’t budge after you pull it, that’s the opener or the spring telling you it needs attention.
- Check the anchor bolts. Look at the brackets where the vertical tracks attach to the wall and to the floor. Loose bolts let the door shift under stress. Tighten anything you can reach safely by hand or with a wrench, but don’t adjust brackets that control track alignment yourself, since that can knock the door out of square.
- Verify the wind-load bracing. Many Florida garage doors have reinforcement struts or braces across the panels. Confirm they’re attached where they should be and not loose. If you’re unsure whether your door has storm bracing, or whether the bracing is complete, that’s a question for a professional.
- Test the opener’s safety reverse. With the door in motion downward, wave an object (or your foot) through the safety sensor beam. The door should reverse immediately. If it doesn’t, stop using the powered opener and have a technician look at it before storm season.
Anchors, bracing, and springs are the parts most likely to be stressed by wind load on a garage door, and they’re also the parts where a wrong adjustment does more than you expect. If something looks off, ask a professional to look before the weather does it for you.
Post-Storm Inspection Before You Power It Back Up
After a storm passes, don’t press the opener button first. Do a visual inspection with the door closed and the power to the opener off. The order matters because a door that has been pushed out of alignment or a spring that has shifted can cause damage to the opener the moment it engages.
- Look at the panels. Check for dents, warping, or panels that have separated from their hinges. A bent panel can bind against the tracks. On steel doors like many Clopay and Amarr models installed in this area, a visible dent at a hinge line often means the hinge itself needs replacing too.
- Check the tracks. Look down the length of each vertical and horizontal track. Tracks should be straight. Any obvious bend, kink, or gap in the channel means the door isn’t running on a clean path and shouldn’t be powered.
- Look at the springs and cables. Anything visibly hanging loose, touching the floor, or oddly positioned needs a technician. Don’t touch these parts. High tension hardware under the door header is not something to poke at, especially after a storm has shaken everything.
- Inspect the anchors again. Bolts that held firm before a storm can loosen afterward. Look at the wall and floor brackets once more.
- Only then power the opener. Open and close the door slowly once and watch the full travel. If it drags, rattles, or sounds different than it did before, stop using the powered opener and book a service call.
Door failure after a storm is often a hardware issue, not a control issue. That usually means the fix is inside the door assembly, which is where a trained technician can look at a Wayne Dalton or Craftsman door and tell you in one visit whether the problem is a bent panel, a tired spring, or an opener that has given up.
Lubricant Selection: What Belongs Where
A spray can of general-purpose penetrating oil is the wrong product for almost every part of a garage door. Those oils are thin, they attract dust, and they dry out. On the steel hardware in a humid Pembroke Pines garage, an all-purpose spray can actually accelerate corrosion by stripping whatever protective coating is left and giving rust a friendly place to start. What you want is a lubricant that sticks, doesn’t collect grit, and protects the metal underneath.
Here’s a working guide for what goes where.
- Hinges and pivot points: a light, rust-inhibiting lubricant designed for metal hardware, or a lithium- or silicone-based spray that leaves a protective film. Apply a small amount and wipe off the excess. You’re not coating the hinge, you’re lubricating the pin.
- Rollers: most sealed rollers don’t need lubrication at all. Nylon rollers should be left dry. Metal rollers can be given a few drops of light machine oil at the stem, but if the roller wobbles, replace it rather than oiling it.
- Weatherstripping and seals: silicone-based spray only. Oil-based products break down the rubber faster than it would on its own. A silicone treatment on the bottom seal helps it stay flexible under UV.
- Tracks: keep them clean and dry, and do not grease them. Wipe them with a dry cloth or a lightly damp one. Grease on a track collects grit, which then grinds against the rollers.
- Springs and cables: leave them alone. Lubricating them isn’t a homeowner task because getting near them isn’t a homeowner task.
The rule with lubricant is a little goes a long way. Overspray gathers dirt, and on a door in a humid climate the point is protection, not a heavy coat.
Sticker, Seal, and Weatherstripping Care
Weatherstripping is the cheapest thing to replace and one of the most important things to keep current. When the bottom seal fails, water and pests get in, the door sits uneven, and the opener works harder than it should. In Pembroke Pines, UV exposure is the main reason this seal fails, and it happens without much warning.
Here’s what to look at:
- Bottom seal: check for dried-out rubber, cracks, tears, gaps at the corners, or a seal that has become brittle enough to snap when bent. Silicone spray can extend its life, but once it’s cracked, it’s replacing time, not treating time.
- Perimeter weatherstripping: the brush or rubber strips around the frame should meet the door without gaps. Look for daylight creeping in along the top or sides.
- Stickers and labels: the warning labels on the door panels are part of its printed safety information. If they’ve curled or the door’s been repainted over them, that’s fine. What matters is knowing the door’s model, which is stamped on a label on one of the panels. Having the model number on hand is a real help when a technician arrives.
- Sun-facing side: if your garage door faces west or south, expect the seal and any painted finish on that side to need attention sooner than the rest.
Replacing a bottom seal is a manageable homeowner task on most doors. Replacing the perimeter weatherstripping is where it gets finicky on a wood-frame door, and it’s where a technician is often faster and cleaner. Manufacturers like Clopay and Amarr use different seal profiles, so matching the right part matters.
Annual Professional Tasks Versus Safe DIY Tasks
The line between what you can safely do and what you shouldn’t is clearer than most maintenance guides make it. Here’s the split. Your hands-on tasks are the ones involving lubrication, cleaning, visual inspection, and seal replacement. The professional tasks are the ones involving stored mechanical energy.
Safe to do yourself:
- Wiping down tracks with a dry cloth
- Lubricating hinges and pivot points with a rust-inhibiting product
- Applying silicone spray to the bottom seal and weatherstripping
- Replacing the bottom rubber seal on most door types
- Tightening anchor bolts that are loose but not implying a structural issue
- Testing the safety reverse and photo-eye sensors
- Replacing opener remote batteries and resetting the wall control if needed
Professional tasks:
- Replacing torsion or extension springs
- Replacing or adjusting lift cables
- Aligning or replacing tracks
- Adjusting the opener’s force and limit settings beyond basic factory reset
- Replacing a broken hinge that has separated from the panel
- Correcting a door that has come out of square
- Evaluating and repairing storm bracing or structural hardware
Having a technician look the door over once a year catches the wear items before they fail. Our technicians have up to 15 years of experience and work on your brand, which means the diagnosis starts from what’s actually in your garage rather than from a trial-and-error visit.
Opener, Remote, and Safety Sensor Checks
The opener is the brain of the system, but it only works as well as the door it’s moving. A door that needs manual effort or is stiff on its tracks will strain the opener and eventually damage it. So the check sequence starts with the door and ends with the opener, not the other way around.
Here’s an opener check you can run monthly:
- Test the wall control. The door should open and close on command with no hesitation.
- Test each remote. Replace batteries if a remote takes more than one press to respond. Reprogramming a remote is usually a two-minute job in the manual.
- Test the safety eye sensors. With the door in motion downward, break the beam with an object. The door should reverse immediately. If it doesn’t, stop using the opener and get it serviced. Safety sensors are not a test you skip.
- Test the auto-reverse on contact. A firm push at the bottom edge of a closing door should send it back up. If the door pushes past the obstruction rather than reversing, the force setting is too high and needs adjusting. That’s a professional adjustment on most openers.
- Listen for the opener’s motor sound. A motor that’s growling, clicking, or running longer than usual before the door moves is telling you the door is stiff. Have the door serviced before the opener fails.
Brand matters less than function, but brand familiarity speeds up a repair. Whether your garage has a LiftMaster, Chamberlain, Genie, Craftsman, or Raynor opener, a technician who knows the line can often diagnose by sound and symptom before opening the panel. When the opener itself needs work, that’s the moment to look at garage door opener repair rather than continuing to force a worn motor through a stiff door.
Common Mistakes to Avoid
- Greasing the tracks. The single most common mistake. Grease on a track attracts grit, which then grinds against the rollers and wears them out faster. Tracks should stay clean and dry.
- Using WD-40 as a general lubricant. That product is a penetrating oil, not a long-term lubricant, and on humid Pembroke Pines hardware it can strip protective coatings and give rust a clean surface to start on. Use a purpose-made lubricant for hinges and pivots.
- Painting over the door’s warning labels and model sticker. The label that identifies your door’s model and carries its printed safety information is important. If you’re painting, mask it.
- Adjusting the spring to make a noisy door quiet. If the door is loud, the problem is almost always hinges, rollers, or track alignment. Springs are under load and shouldn’t be touched by a homeowner under any circumstances.
- Ignoring the bottom seal through the rainy season. In Pembroke Pines, water intrusion through a failed bottom seal is common and it leads to a wet garage, a swollen door, and a shorter life for everything inside. Replace it before the wet stretch, not after.
- Skipping the safety reverse test. This is the one check that matters most for people and pets. If it fails, stop using the door until it’s fixed.
- Waiting for a total failure. A door that has been making noise for a month is telling you something. Catching it early usually means a small repair, not a full opener or door replacement.
See the difference
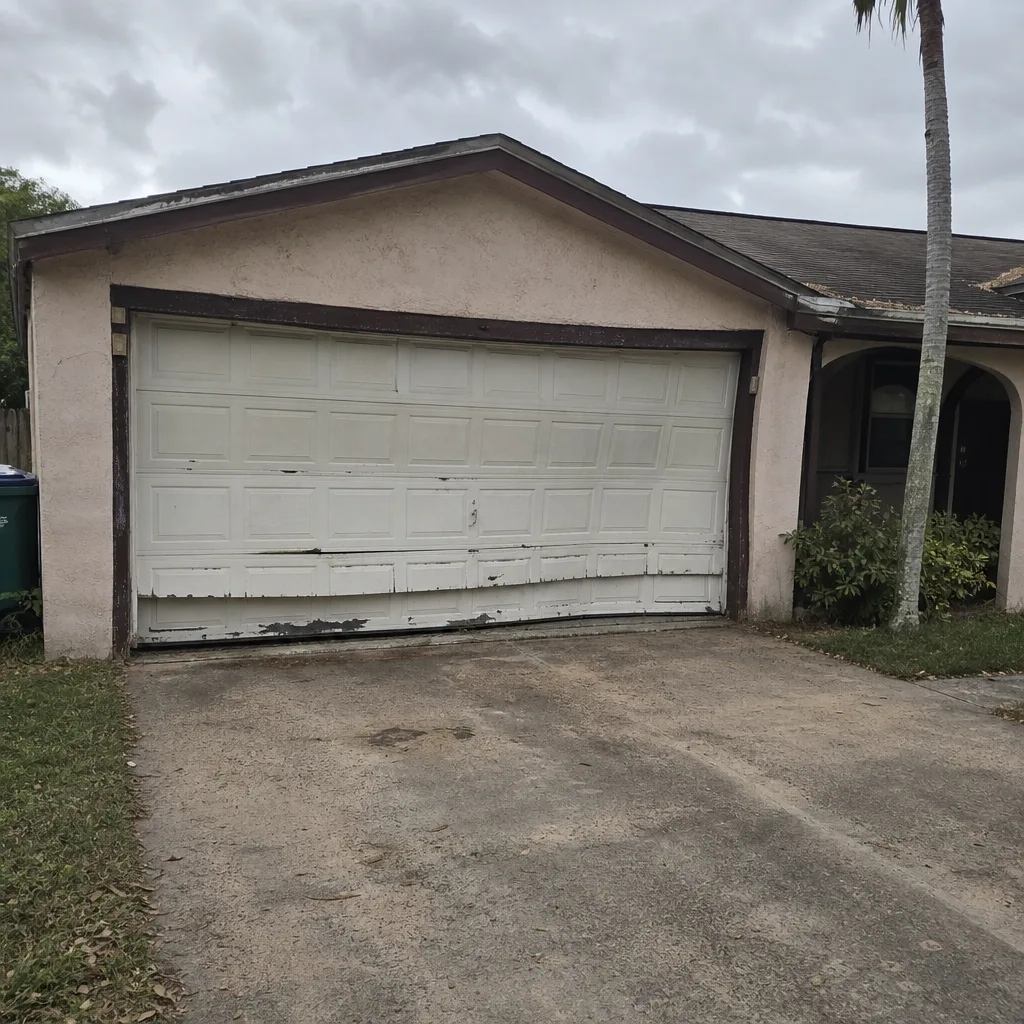 Before
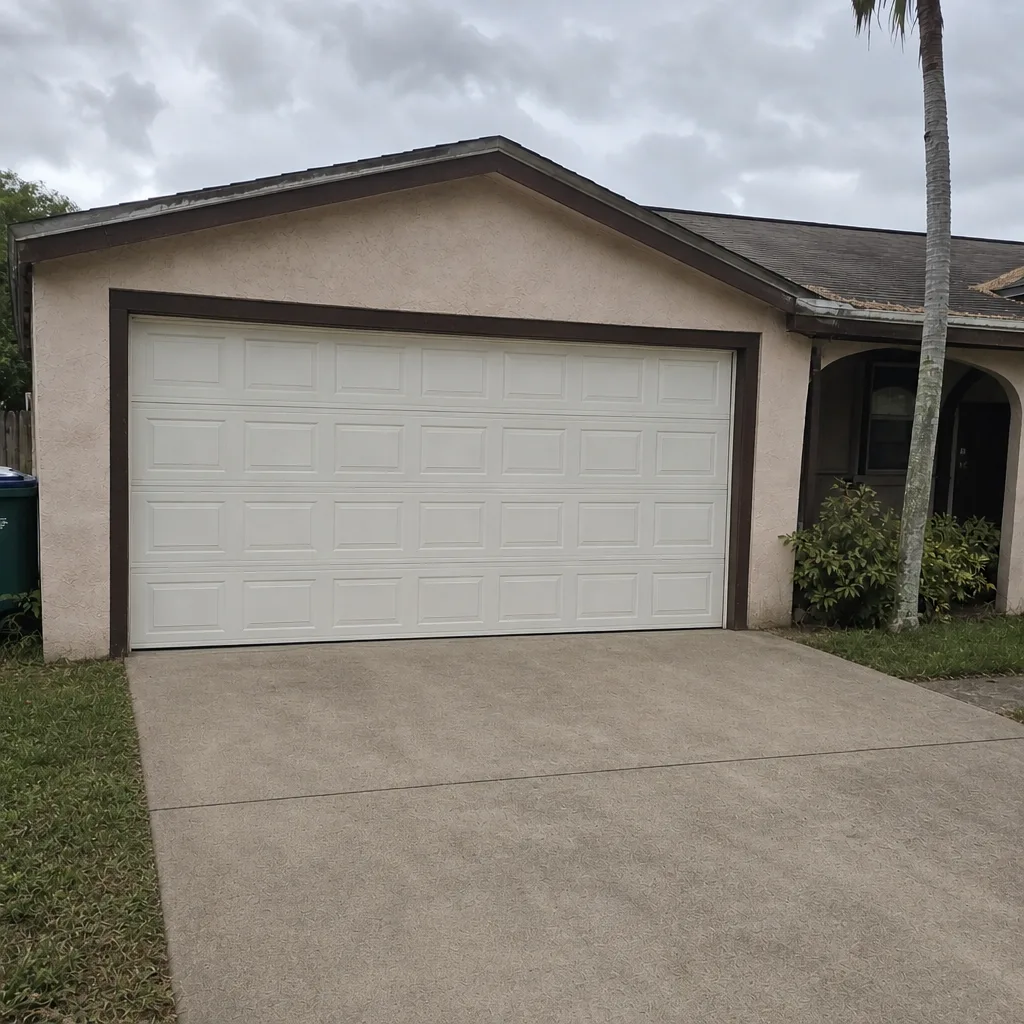 After
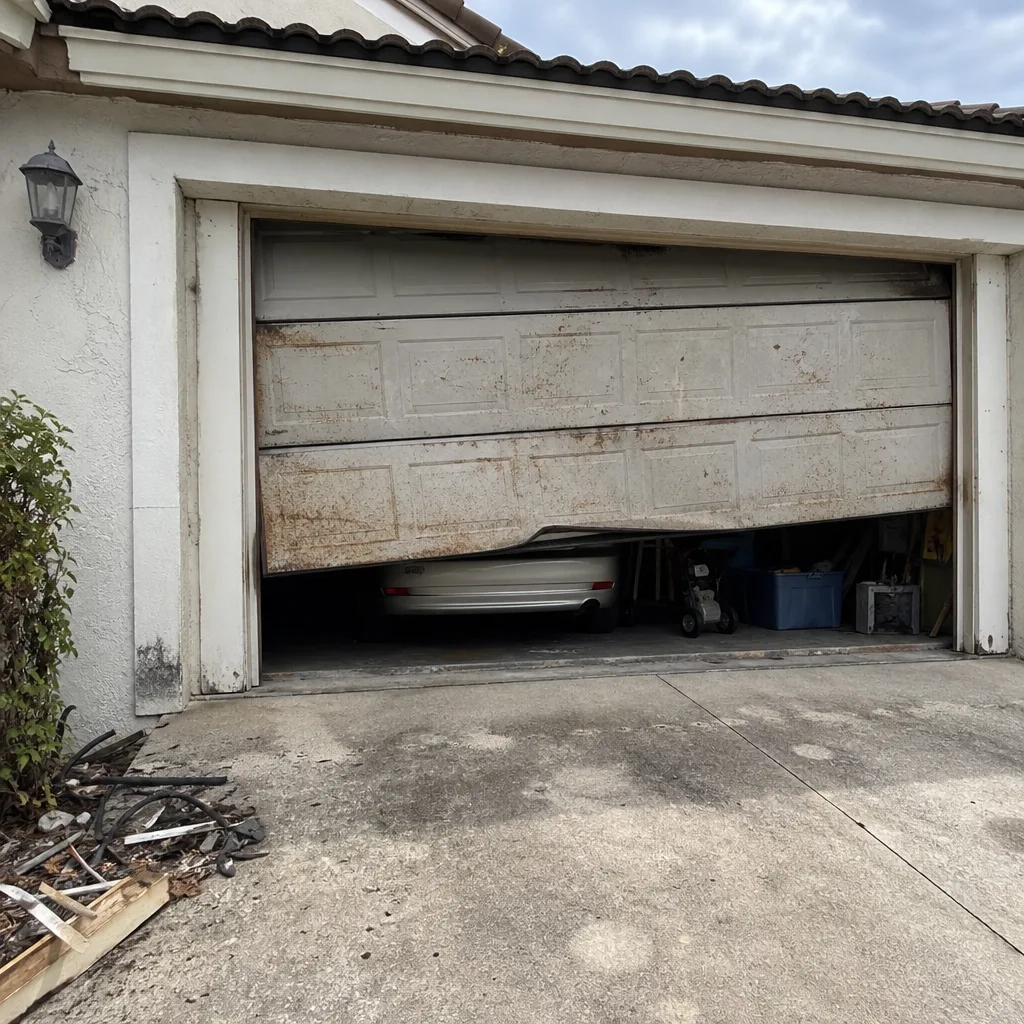 Before
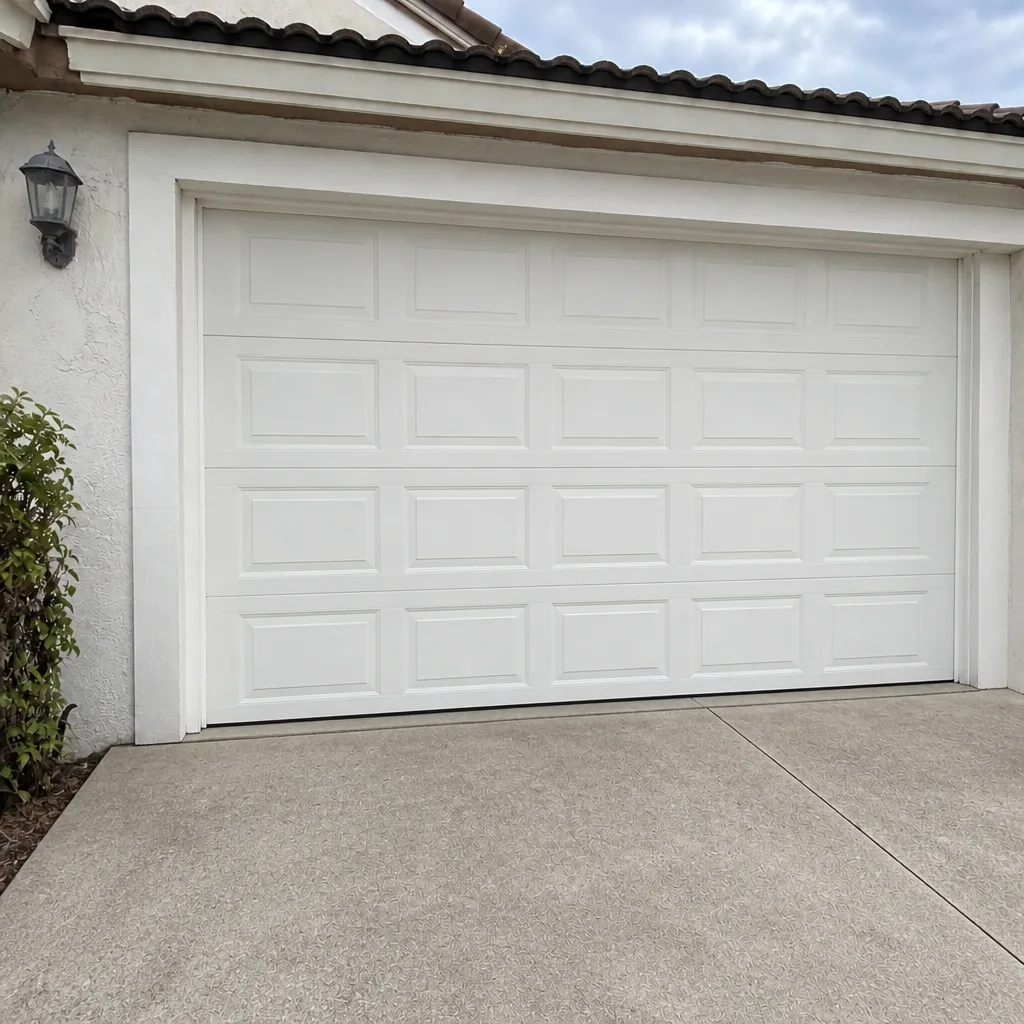 After
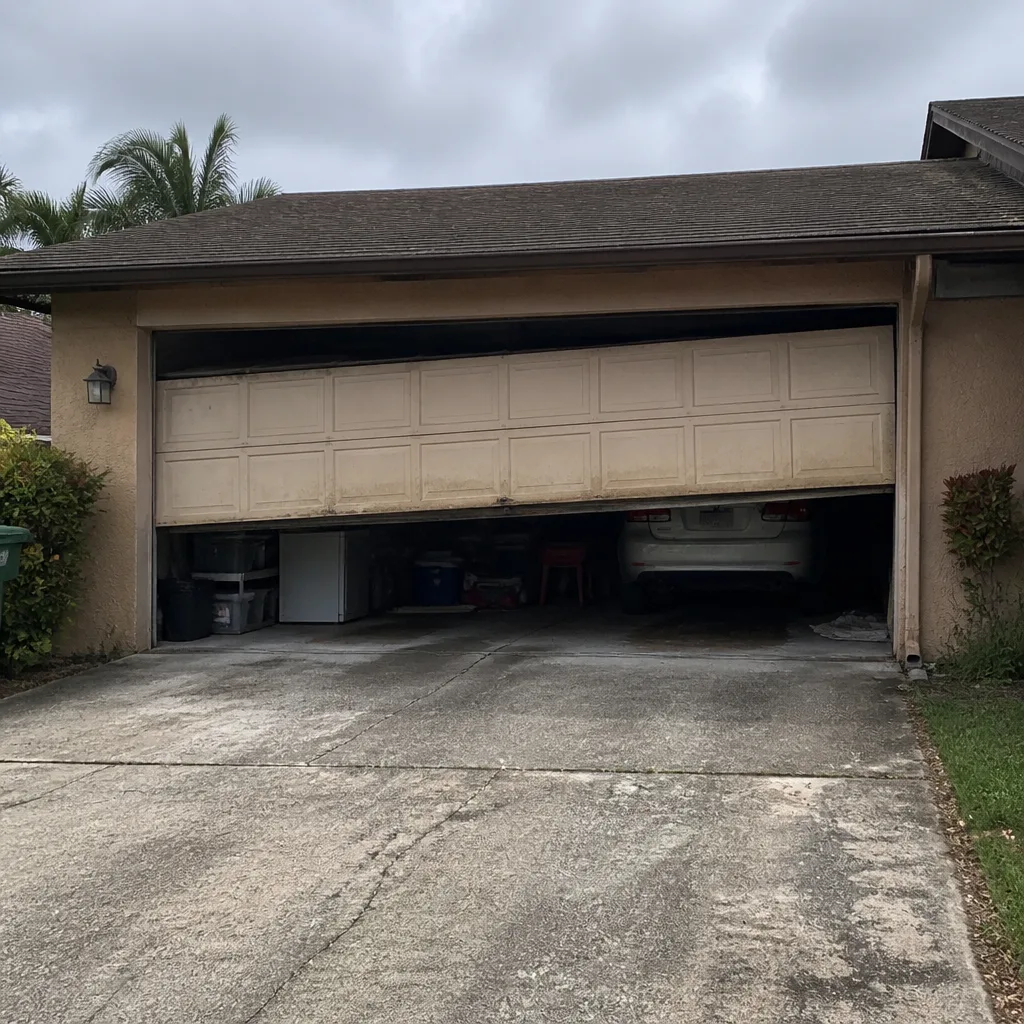 Before
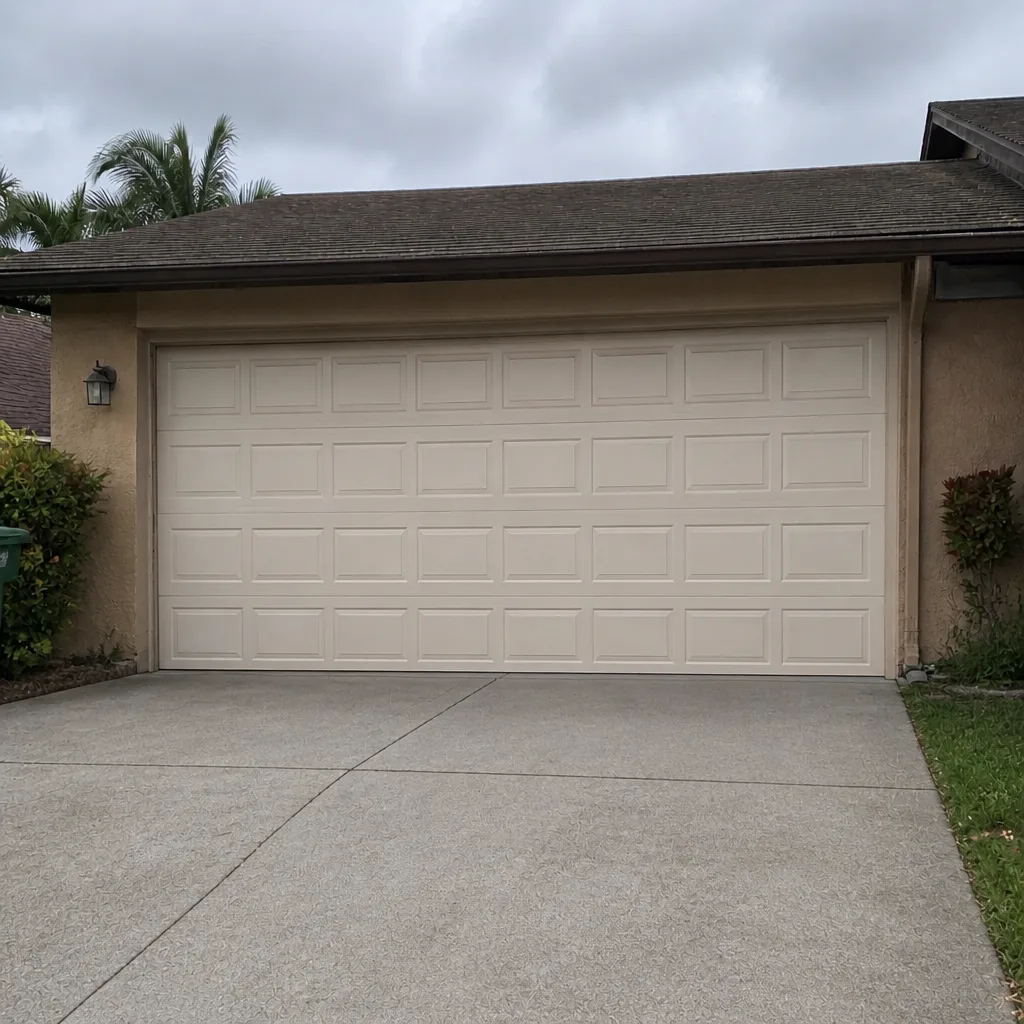 After
When to Call a Professional
Call a professional for any of the following: a broken or visibly compromised spring, a frayed or dangling cable, a door that has come off its tracks, a door that won’t move in one direction, a safety reverse that fails, a bent panel or separated hinge, or storm damage to anchors and bracing. Also call when the opener works but the door won’t move cleanly, since that’s usually a door problem rather than an opener problem. Springs and cables are the parts that cause serious injury when handled by untrained hands, and they’re the parts most worth a service call.
If you’re near a full failure and need a new door rather than a repair, that’s a scheduling job rather than an emergency one. We measure first, quote in writing, then order and install. Pembroke Pines Garage Door Repair Pros offers free estimates in Pembroke Pines for repair and installation alike. Call (844) 793-5158 to book a visit, or use the same number for emergency service when a broken door is leaving the house open or trapping a car.
Frequently Asked Questions
Once a month for a visual walkthrough, and once a year for a professional inspection covering springs, cables, tracks, and opener settings. The monthly check is about catching wear and rust early in a humid climate; the annual check is about verifying the parts that carry stored energy and shouldn’t be handled by a homeowner. If your door faces south or west, expect weatherstripping and seals to need attention sooner than the yearly mark.
No. Tracks should be kept clean and dry, not greased. Grease attracts grit, and grit on a track grinds against the rollers and causes wear. Wipe tracks with a dry cloth or a lightly damp one. Lubricant belongs on hinges and pivot points, and silicone spray belongs on the rubber seals.
Stop powering the opener and do a visual inspection with the door closed: look at the panels, tracks, springs, cables, and anchors. If anything is bent, loose, hanging, or out of position, call a technician before running the door again. Forcing a storm-damaged door with the opener can turn a panel repair into a much larger job. Call (844) 793-5158 if you’d rather have someone look at it first.
Signs are cracks in the bottom seal, gaps at the corners, daylight creeping through the top or sides, or rubber that’s become stiff and brittle enough to snap. In this climate, UV exposure is usually the cause. A bottom seal is a manageable replacement; perimeter weatherstripping on a wood frame is where many homeowners ask a technician to handle it instead.
No. Torsion and extension springs hold dangerous stored energy, and the injury risk from releasing or adjusting one incorrectly is serious. There is no safe DIY version of this job. Leave spring work to a trained technician, even if the door looks calm.
We work on your brand across eight of the most widely installed residential brands, including LiftMaster, Chamberlain, Genie, Clopay, Amarr, Wayne Dalton, Craftsman, and Raynor. That covers repair, opener repair, spring repair, and new installation, so you don’t need a different contractor for different parts of the job. Our technicians have up to 15 years of experience and can usually diagnose on the first visit rather than making a return trip.
You get a written price before any work starts, and you decide whether to proceed. Nothing gets done that you haven’t agreed to at that price. If the diagnosis changes once the door is open, you hear about it before the technician touches anything.
The Bottom Line
A garage door in Pembroke Pines needs three things that most national checklists skip: attention to humidity-driven rust on hinges and cables, a storm-season check of the manual release and safety reverse, and regular care of the UV-degraded seals and weatherstripping that fail first in this climate. Grease belongs on hinges, not tracks. Springs and cables belong with a technician. Everything else on this list you can safely handle yourself, and doing it monthly catches small problems before they become door-in-the-air emergencies. If you need help or want a professional once-over, call (844) 793-5158 for a free estimate.
When you want a full, professional look at the door and opener together, that’s a visit we handle under one call for Pembroke Pines Garage Door Repair Pros. And if the door itself has reached the end of its useful life, the path forward is scheduled measurement and installation via garage door installation, not a rushed patch at the last minute.
Written by the team at Pembroke Pines Garage Door Repair Pros.